Binaural head
How to build a binaural head with readily available materials, 3D printed ears, and for a reasonable price.

This binaural head was designed for the Locus Sonus's Locus Stream project with one goal in mind: to offer streamers a complete and affordable solution to assemble a binaural head for streamboxs.
Focus was put on building simplicity, availability of materials ans tools required, overall sound quality and fidelity to the binaural effect, and a affordability with an overall cost dozens of euros under the market.
Listen to one of our binaural head
The frame is made of PVC plumbing pipes, that can be found on any hardware store. Ears are 3D printed, we provide our specific model designed to mimic at best the acoustic effect of an anatomical human ear.
We use Primo EM272 microphone, a model of electret microphones found in hi end equipement, but other microphones can do as well.
To use the Primo EM272 with a USB soundcard equiped with a microphone preamplifier and a fantom power supply, it is recommended to use Locus Sonus's polarisation board, designed to fit this particular microphone.
It is strongly recommanded to use good quality shieded stereo mircophone cable, like the Cordial CMK22 BK.
The inter aural-distancy (the distance between the ears) is slightly greater that the one on a human head: on a human head,sound must go around the face when taveling from on ear to the other. On our head, there is no round face to go around, therefore we add an extra length to compensate and match an inter-aural time differency of 730us for a sound comming from the side at a 90° angle.
If the head is to be used with an IQaudio Codec Zero sound card, for the Raspberry Pi, the polarisation board is not needed: the IQaudio sound card provide a bias voltage on it's ow for both channels. The two microphones must then be solder to a 3.5mm stereo mini jack. See details below.
You will need:
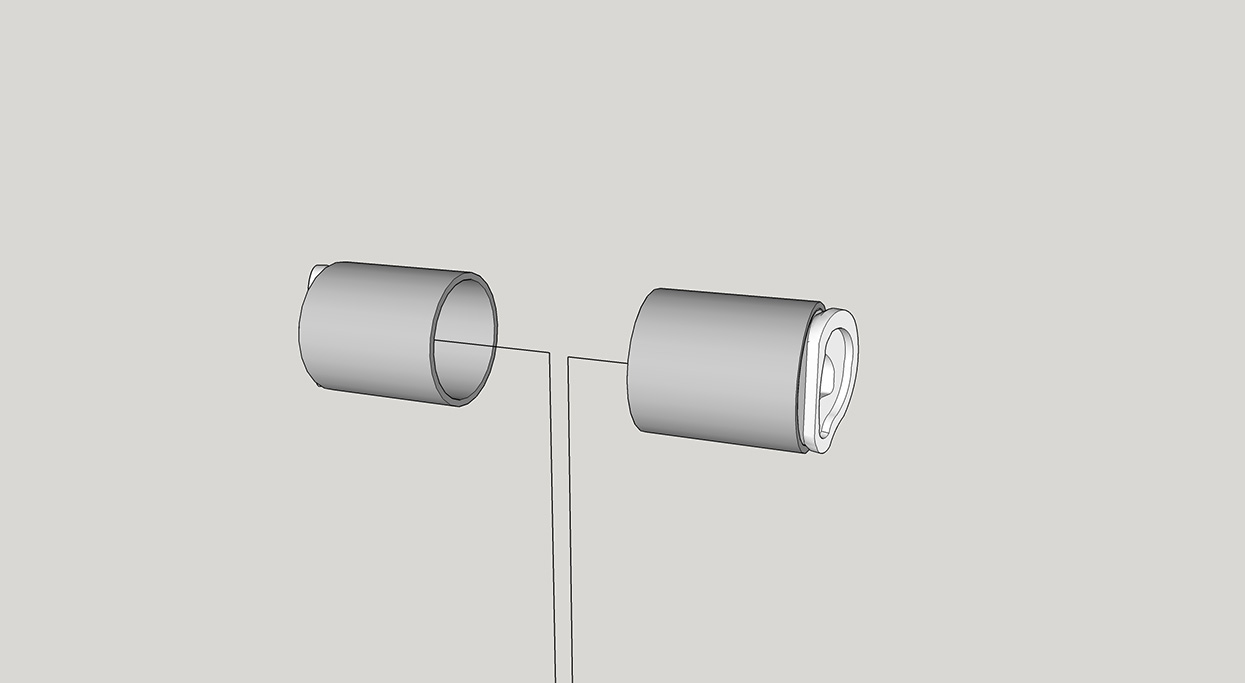
-18cm of PVC plumbing pipe, 63mm diameter
-2 PVC 63mm socket
-1 PVC pipe bracket for 63mm PVC pipe
-A piece of acoustic foam (20cm x 10cm), or any similar material
-One 3D printed ears set
-A pair of Primo EM272 electret microphones
-2 meters of stereo shielded microphone cable ( Cordial CMK22 Bk )
-2 zip ties
Depending on you sound card:
USB sound card:
-2 XLR male connectors (Neutrik gold plated are recommended)
-2 polarisation boars
IQ-Audio:
-One stereo 3.5mm male mini jack
Tools:
-1 Electric drill
-1 7mm HSS drill bit (or any size that match your sound cable)
-1 metal saw (to saw the PVC pipe)
-1 hot glue gun
-1 screwdriver
-1 cutting plier
-1 wire stripper
-1 soldering iron, and solder wire
-Eventualy: 2 small screw to secure the PVC pipes
Here we go!
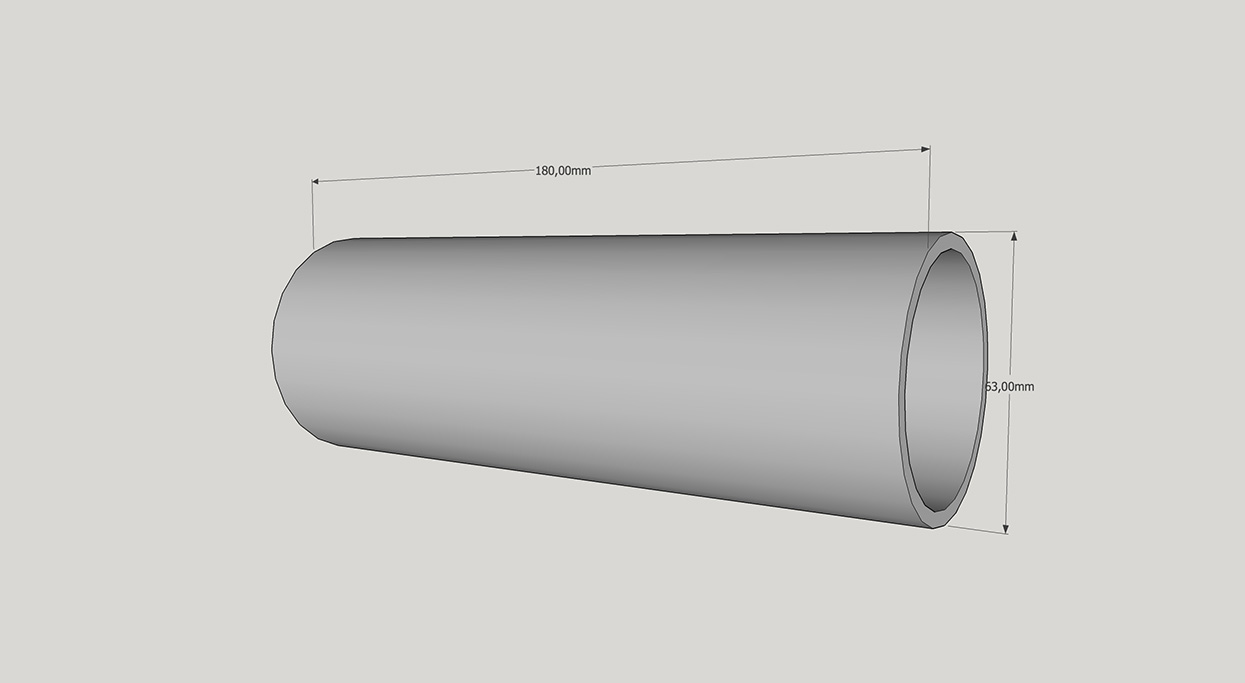
First of all, you need a piece of PVC pipe 18cm long.
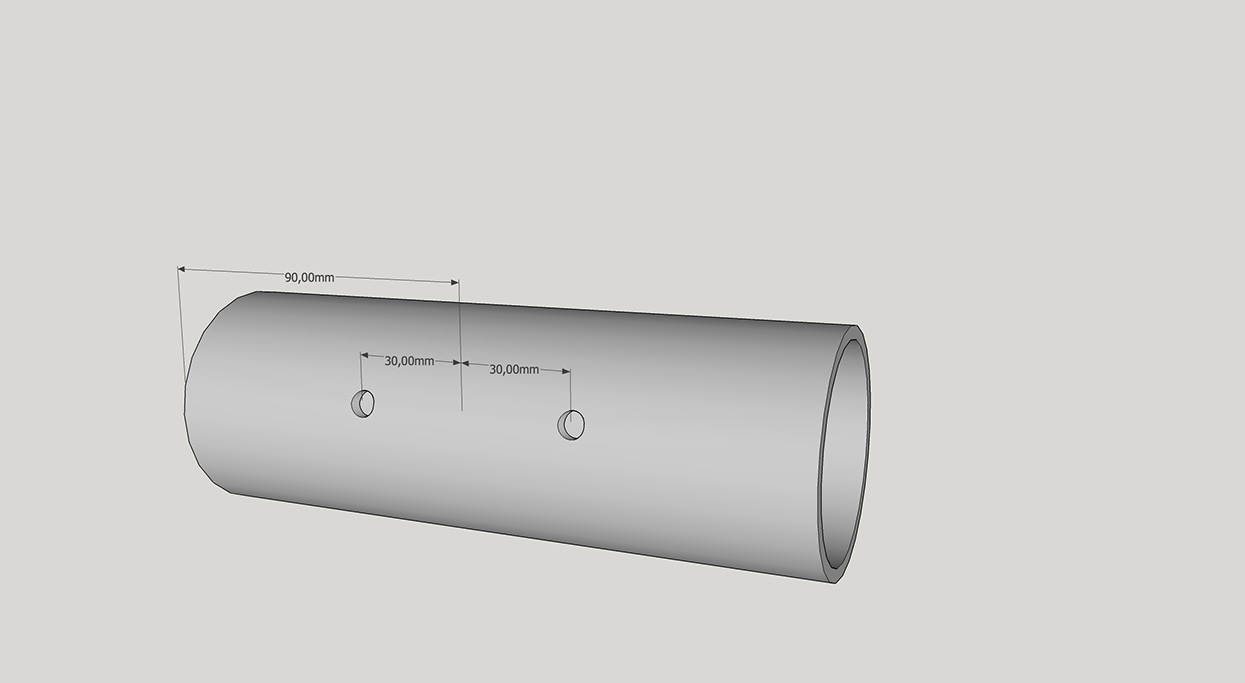
Then, drill two 7mm holes in it for the sound cable.
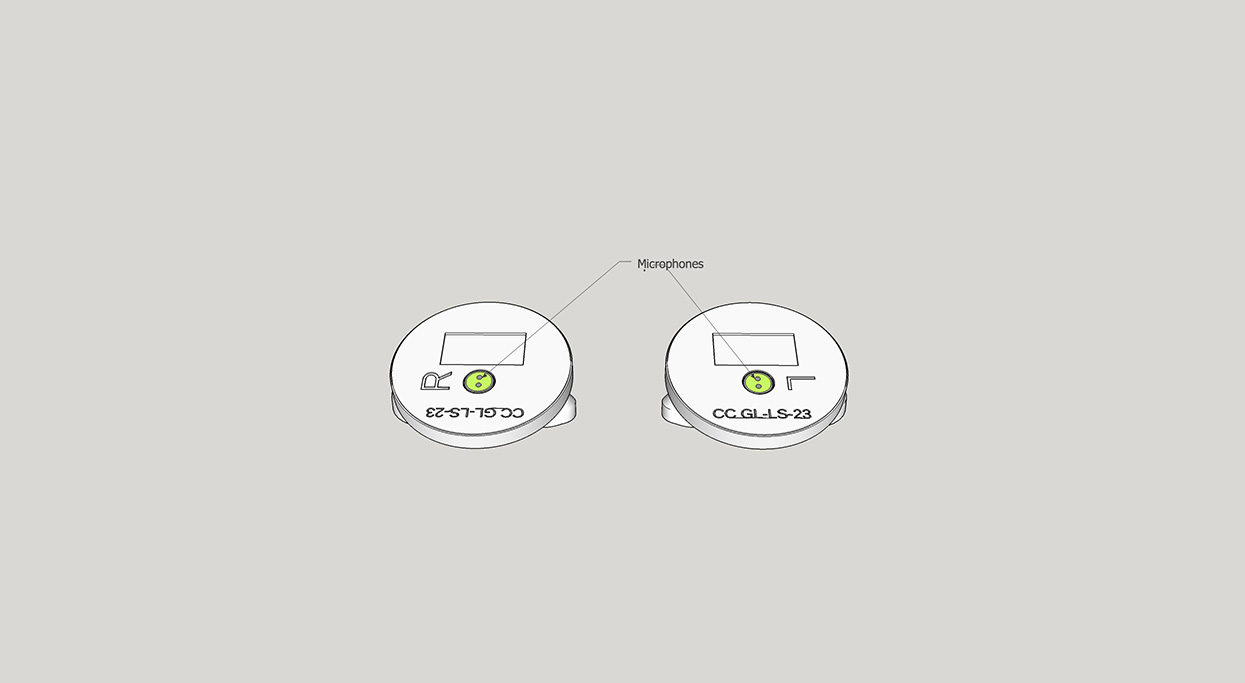
Time to assemble ears and microphones: Primo EM272 have a diameter of 10mm, they should fit with just a little friction in their slot. Depending on your 3D printer settings, nozzle size and bed levelling, it might be necessary to enlarge this slot with a file or a drill bit if it happen to be to tight. If the socket is too loose, a bit of hot glue can be usefull to hold the microphones in place.
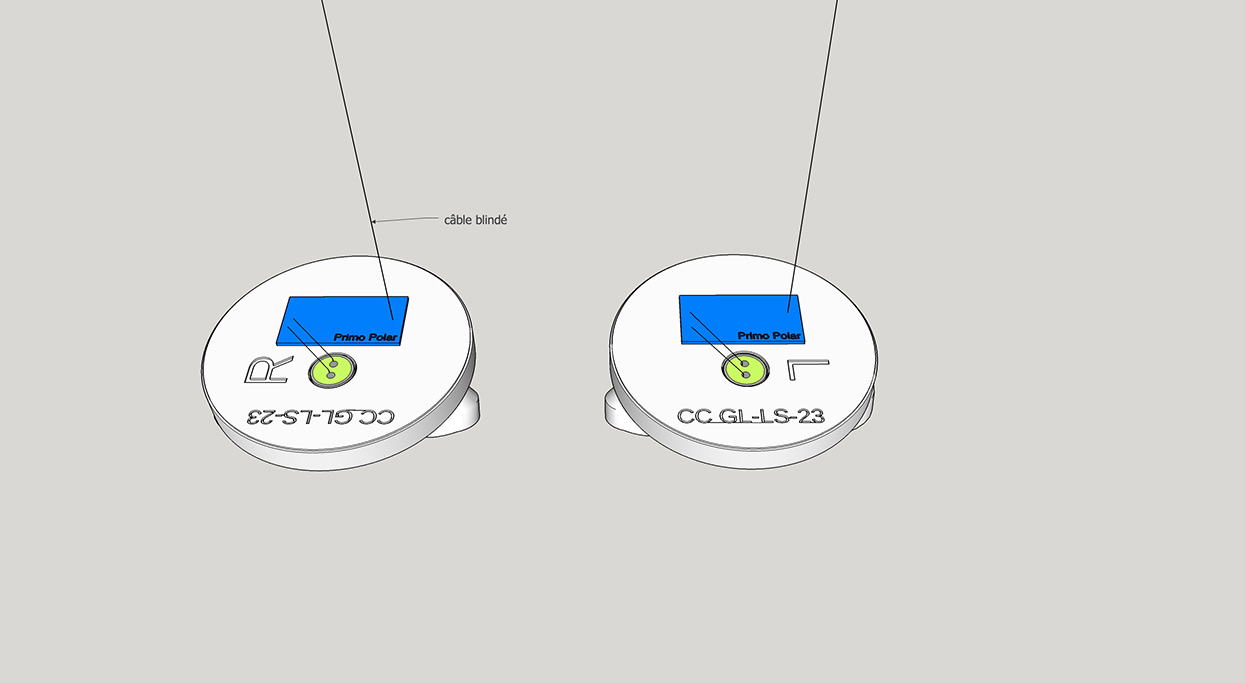
The, fit the polarisation boards ont the inside of the ears with a bit of hot glue, and solder the cables between the boards and the microphones. Mind the positive and negative pads of the picrophone. For this step, shielded wire are not required, any short lenght of wire will do.
Then, solder about a meter of stereo shielded wire to the boards ; it's a good idea to follow this color code: red for the hot wire, ore 2, blue for the cold wire or 3, and the shield for the ground (GND) or 1.
For more details see Microphone Electret
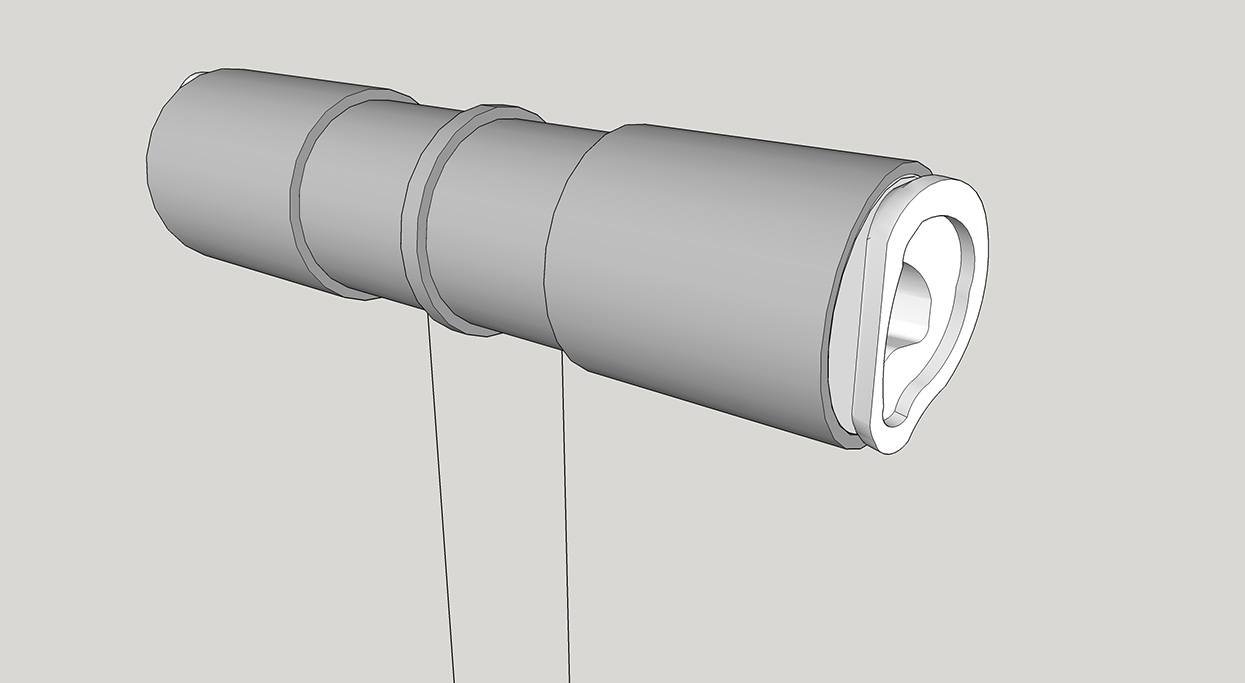
Then, fit the ears assezmbly on to the PVC socket. Here too filing of hot glue may be required.

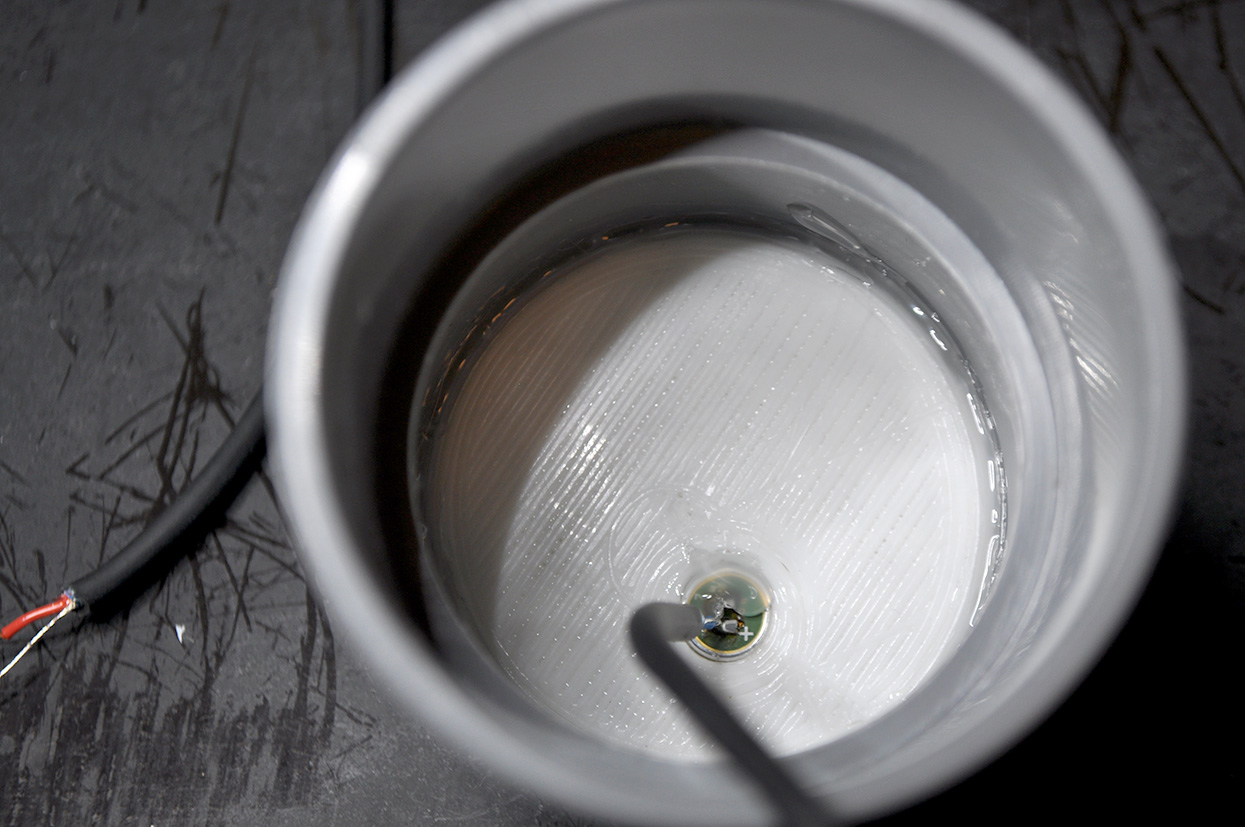
At his step, it is important to isert a piece of acoustic foam inside both pipe, it will prevent sound to travel inside the head from on side to the ohter. This material can be any kind of fabric or foam, but must aloow the asembly on the next step.

Then assembler the all thing, the cables goes one the previously drilled holes.
Two zip ties placed inside the head on the cables can prevent any damage done by pullting on the wire to the elecgtronic boards.
Be carefull to turn both ears to the front of the head, with the cables holes slightly to the back.
Depending on you PVC pipes and socket, it can fit tightly or be a bit loose. In this case, a bit of hot glue, or two small screw if you want to be able to disassembler the head later, can be needed.
And last, we need to solder the XLR socket to each cabler (mind to write left and right on them, it can help later), on put the PVC pipe bracket.
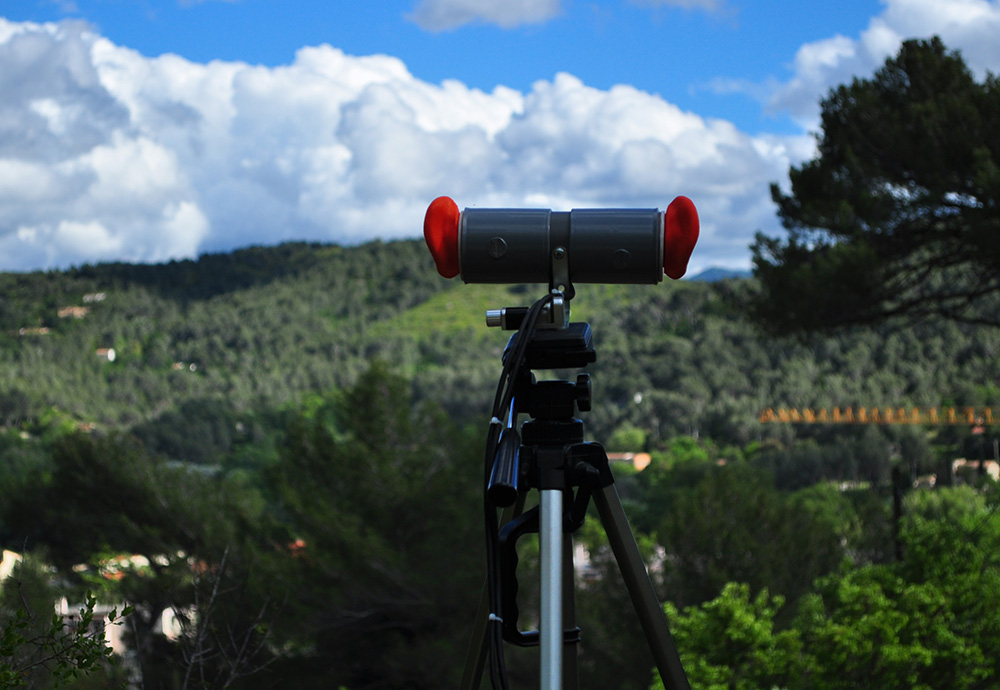
In France, plumbing use imperial screws and threads, as camera tripod do, and the one on the PCV bracket happend to be of the same size as thre one on camera tripod. Therefor, PVC bracket fit just fine on camera tripod, as any camera will.
Our binaural head is complete!
IQ audio codec zero sound card:
Pour une utilisation avec une carte son qui fournir une tension de polarisation, comme l'IQ audio codec zéro, inutile d'utiliser des cartes de polarisation ; soudez un seul des deux conducteur du câble stéréo blindé sur les + microphones, par exemple le rouge pour la gauche et le bleu pour la droite, et la tresse sur le -.
Puis on rassemble les deux câbles en un à la sortie de la tête en reliant les tresse, le rouge sur le rouge et le bleu sur le bleu.
Et enfin soudez l'autre bout du câble à un jack stéréo 3,5mm selon le branchement stéréo classique (tip=gauche, ring=droite, sleeve=masse).

Le matériel nécessaire
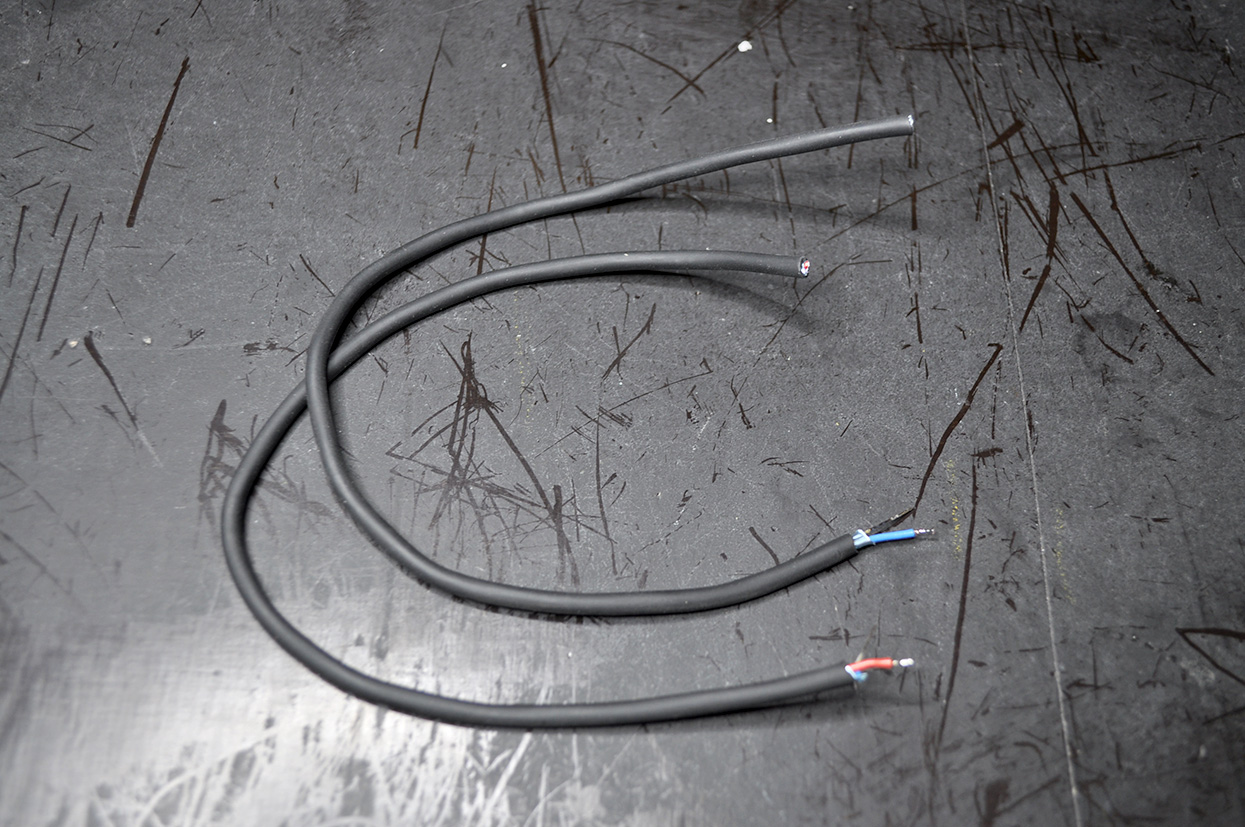
On prépare les câble à souder au microphones

Soudez les câbles aux microphones en respectant la polarité et le code couleur


Insertion des microphones dans les oreilles

Insertion des oreilles dans les raccords PVC
Tout ça est sécurisé au pistolet à colle
A ce stade, assemblez la tête en passant les câbles par les trous prévus à cet effet.

Montage du câble en Y: rouge sur rouge, bleu sur bleu, et les toutes les tresses ensemble
Pensez à mettre de la gaine thermorétractable avant de souder.

Chauffez la gaine pour la rétracter
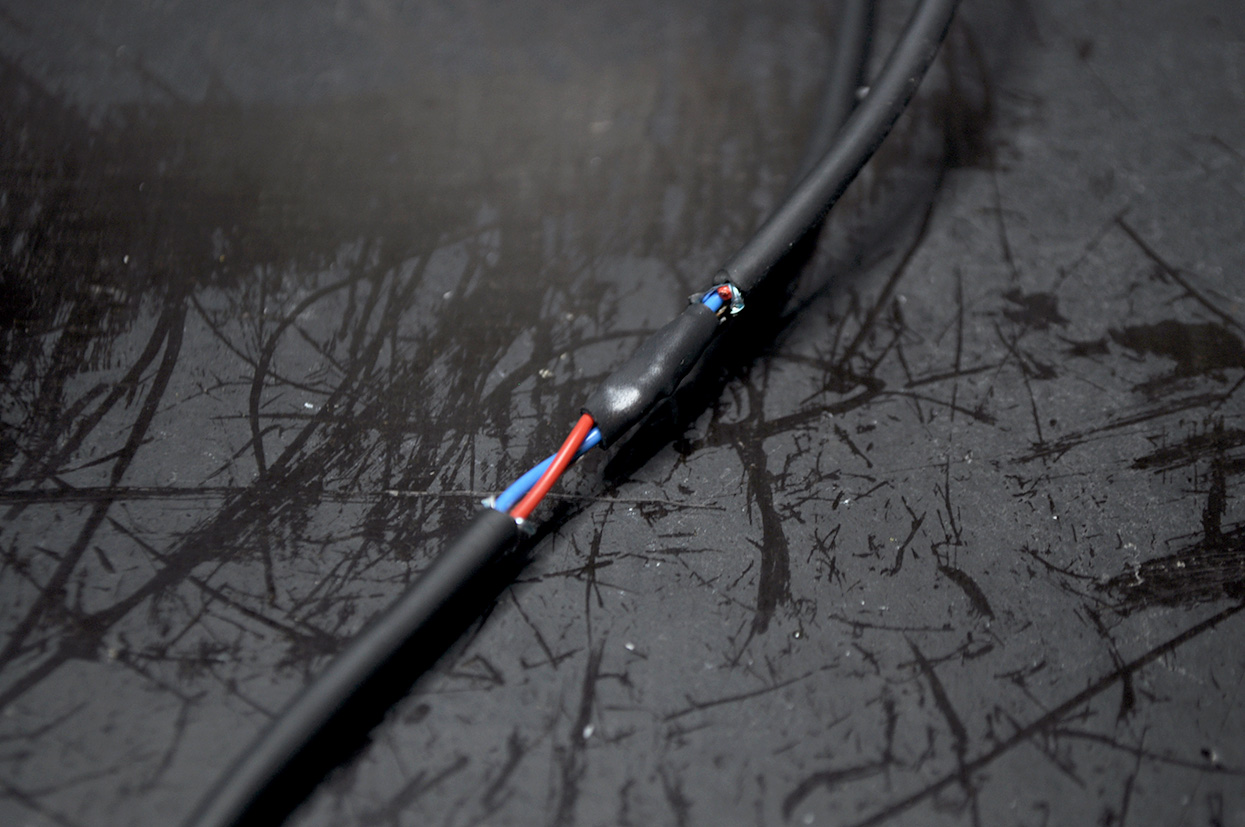
Placez un petit bout de gaine pour maintenir l'ensemble

Et une gaine de plus grosse section pour refaire le câble

Préparez la soudure du jack

Soudez le jack
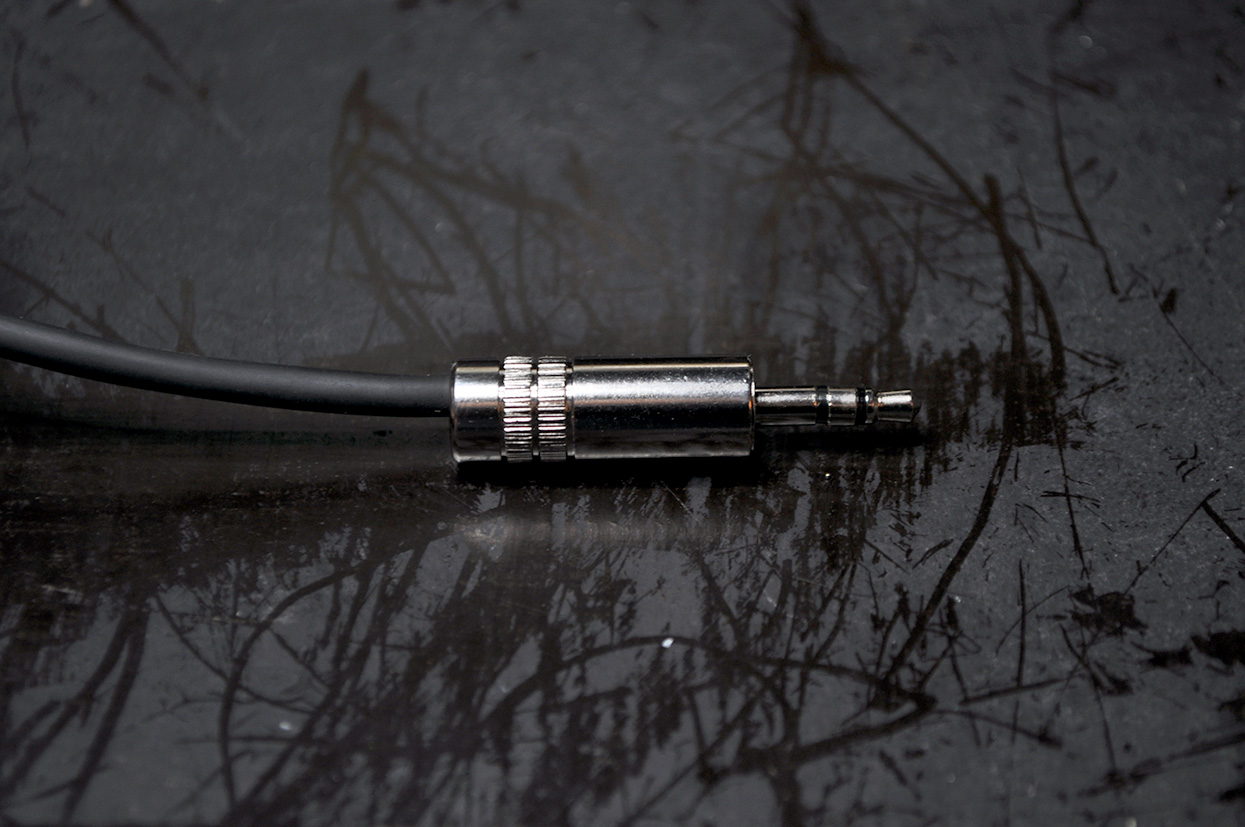
Et refermez le


Il nous reste à assembler l'ensemble

Et à placer le collier PVC de fixation
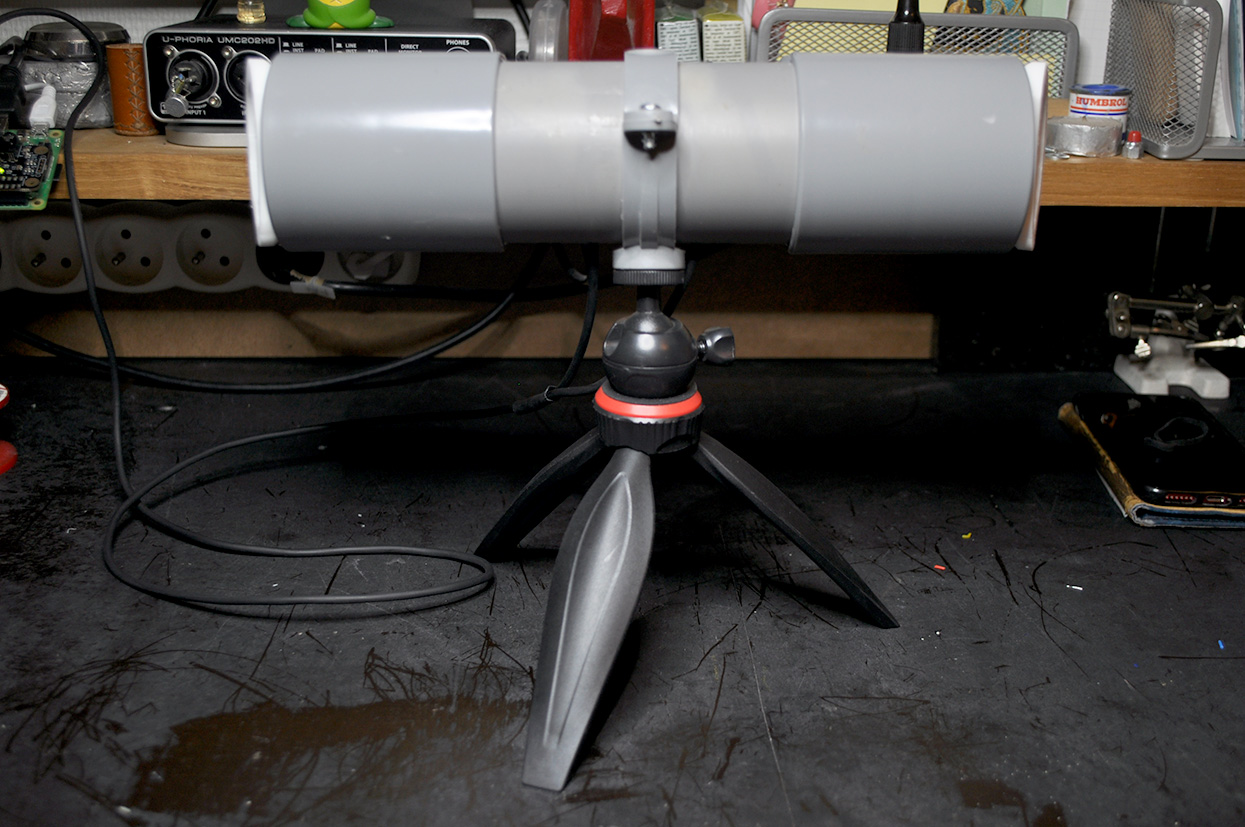
Voici la tête montée sur un pied photo
Grégoire Lauvin - 2018-2013
Last changed 2023/11/16 23:16